OpenGIN Ingestion UI
This document describes how to install, build, and serve the OpenGIN Ingestion UI.
File Structure
- Frontend:
python/ui(Next.js application) - Backend:
python/src/opengin/server(FastAPI application)
Prerequisites
- Node.js: v18 or later.
- Python: v3.11 or later (with
mambaorcondarecommended).
Installation
1. Frontend (Next.js)
Navigate to the UI directory and install dependencies:
cd python/ui
npm install
2. Backend (FastAPI)
Ensure you have the doctracer environment or equivalent set up.
# If using mamba/conda
mamba activate doctracer
pip install -e ".[tracer]"  # Install opengin with tracer dependencies
Development
To run the application in development mode:
Backend
# From the project root
export PYTHONPATH=$PYTHONPATH:python/src
uvicorn opengin.server.main:app --host 0.0.0.0 --port 8001 --reload
The API will be available at http://localhost:8001.
Frontend
cd python/ui
npm run dev -- -p 3001
The UI will be available at http://localhost:3001.
Production Build
To build the frontend for production:
cd python/ui
npm run build
npm start
This will run the optimized production server.
Cleanup
The application generates temporary files and extraction artifacts in the following directories (relative to the directory where the backend server is started):
sandbox/uploads: Contains uploaded PDF files.sandbox/pipelines: Contains extraction results, metadata, and intermediate files.
These directories can grow over time. You can safely remove them to free up disk space if the extraction history is no longer needed:
rm -rf sandbox/uploads
rm -rf sandbox/pipelines
Usage
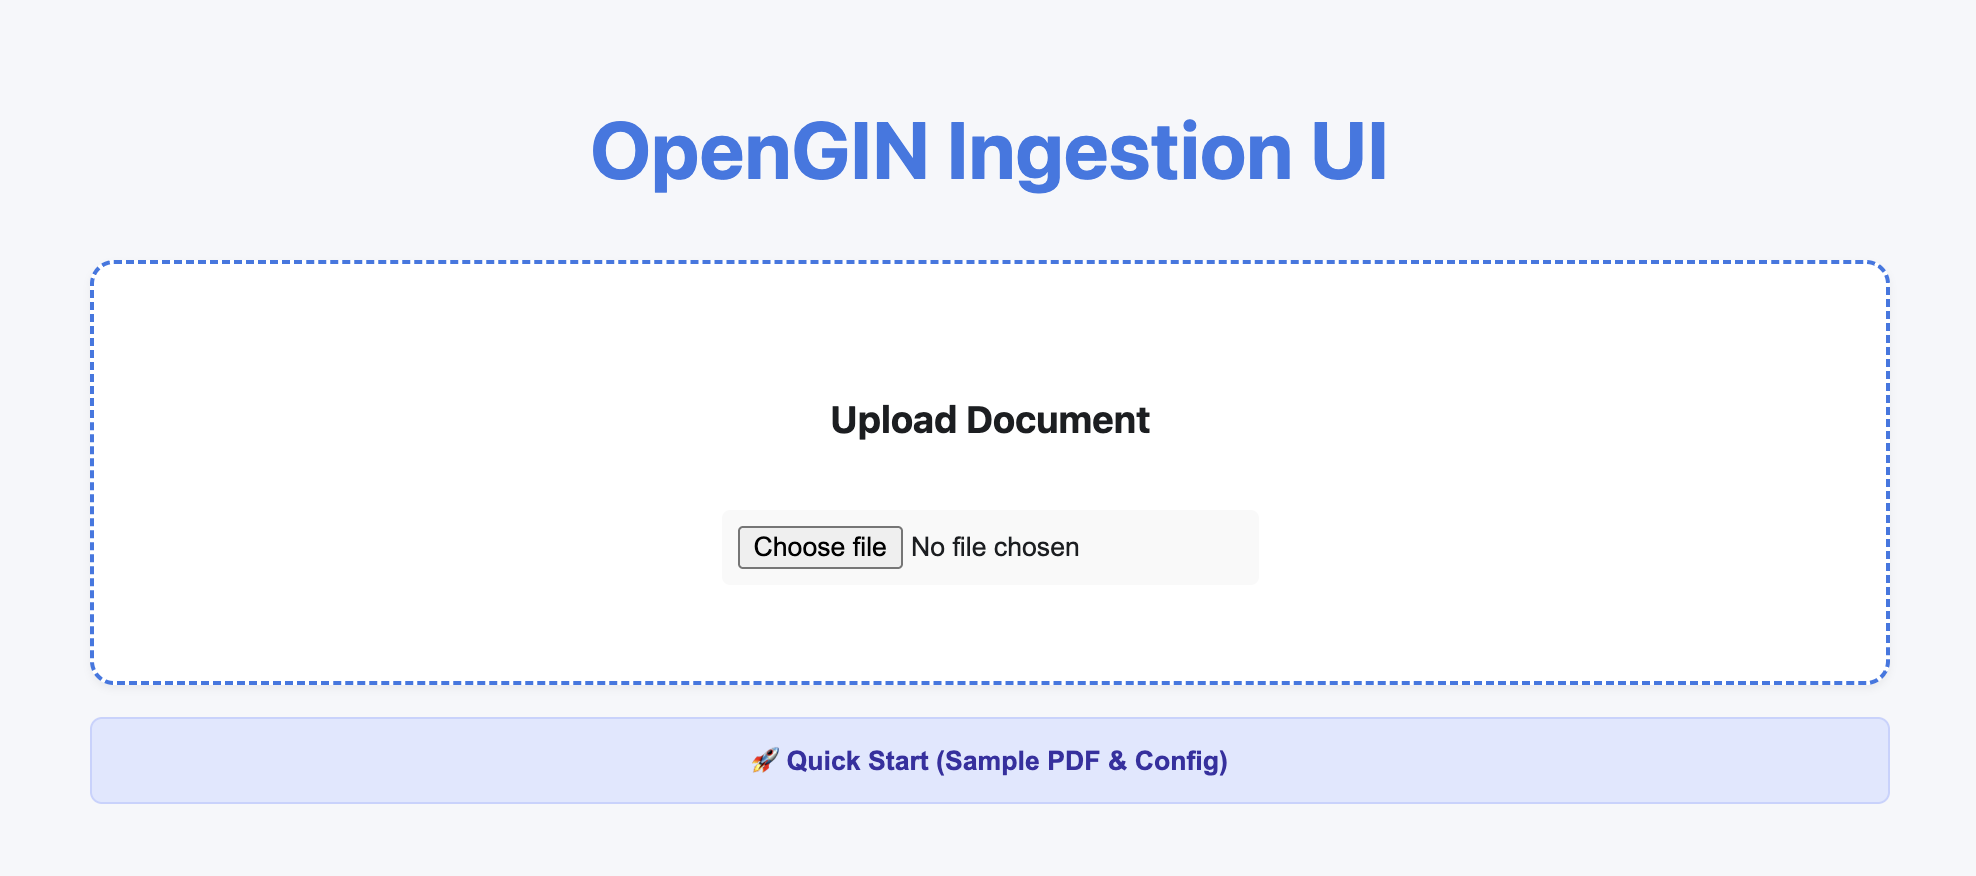
Landing Page
When you first open the application at http://localhost:3001, you will see the main dashboard:
Quick Start
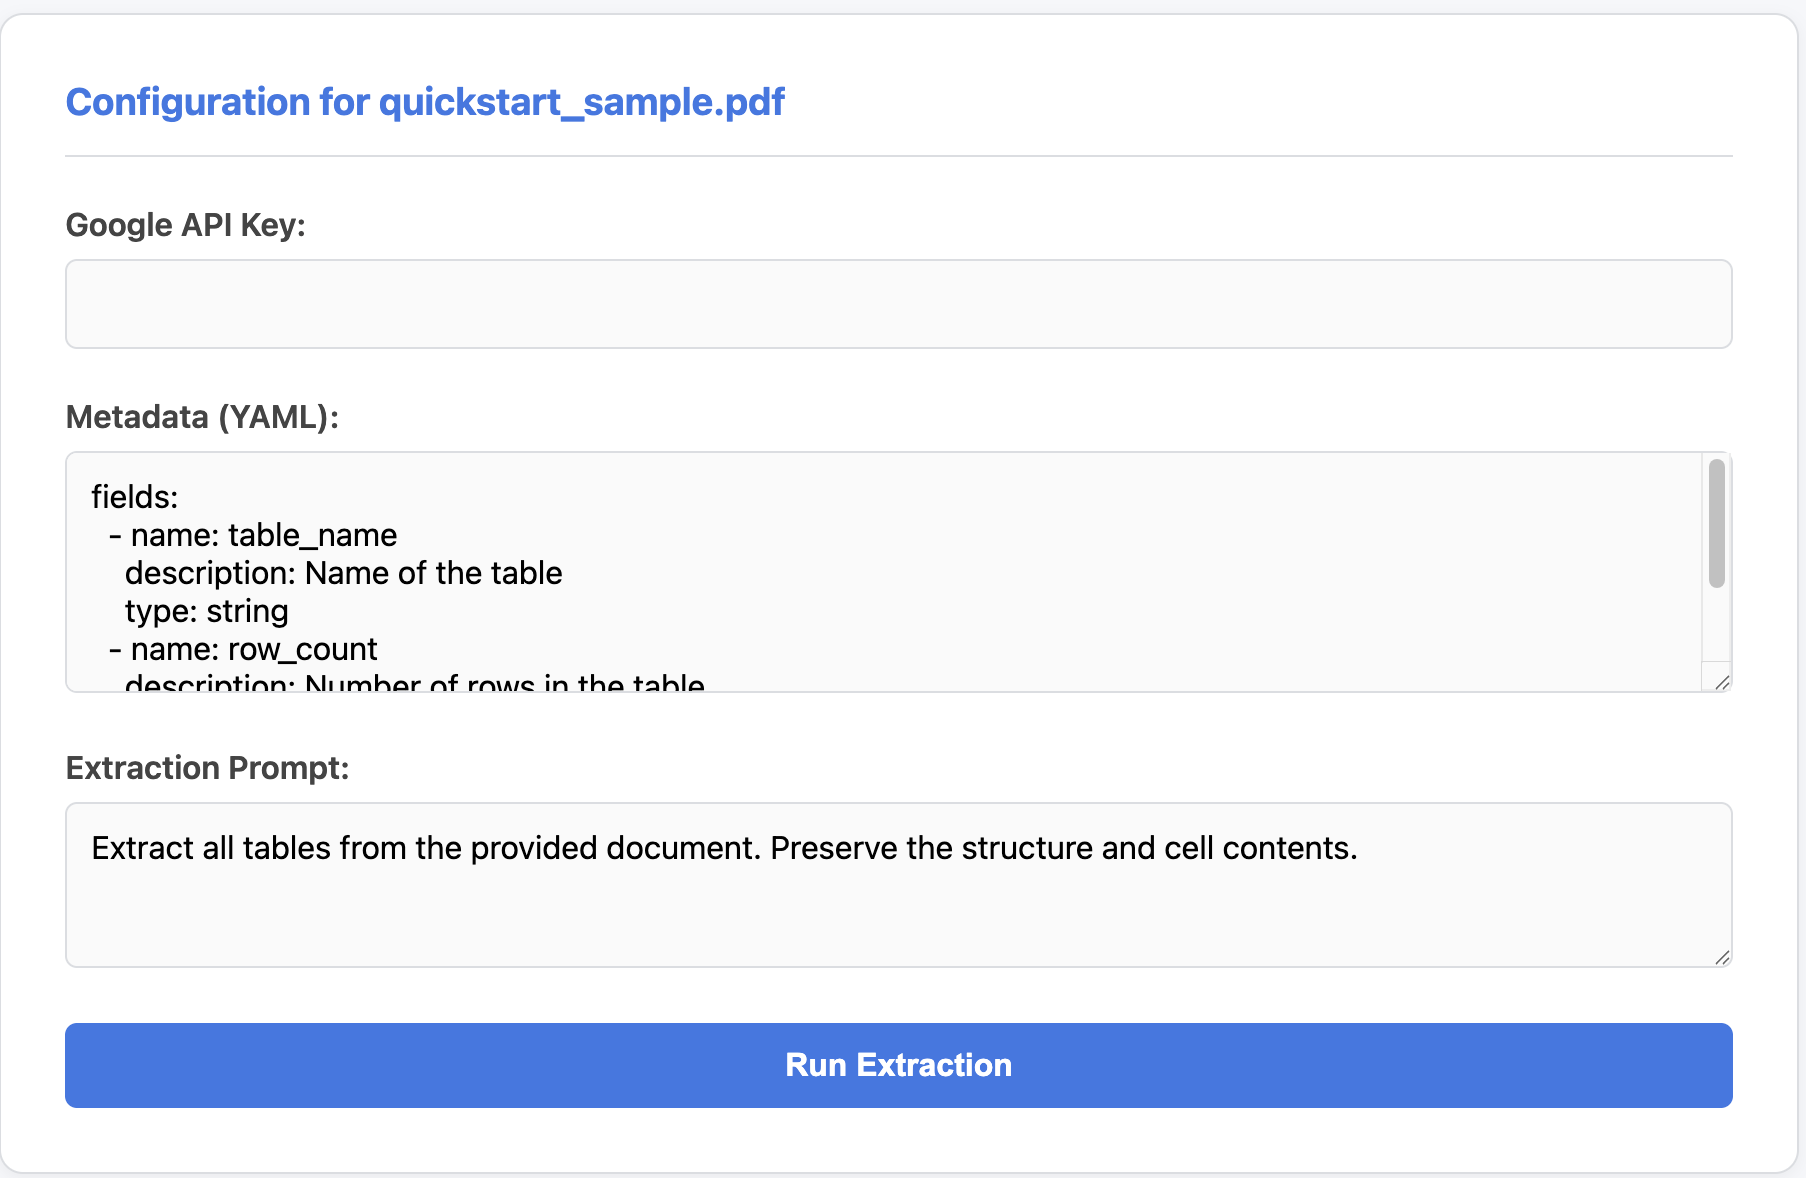
To quickly test the application with a sample PDF and configuration, click the "🚀 Quick Start (Sample PDF & Config)" button. This will automatically:
- Upload a sample PDF (
quickstart_sample.pdf). - Pre-fill the metadata schema and extraction prompt.
- Set up the extraction job.
Running Extraction
-
Enter your Google API Key (if not set in environment variables) in the configuration panel.
-
Click "Run Extraction".
-
The results will appear in the "Results" section once the job is complete.
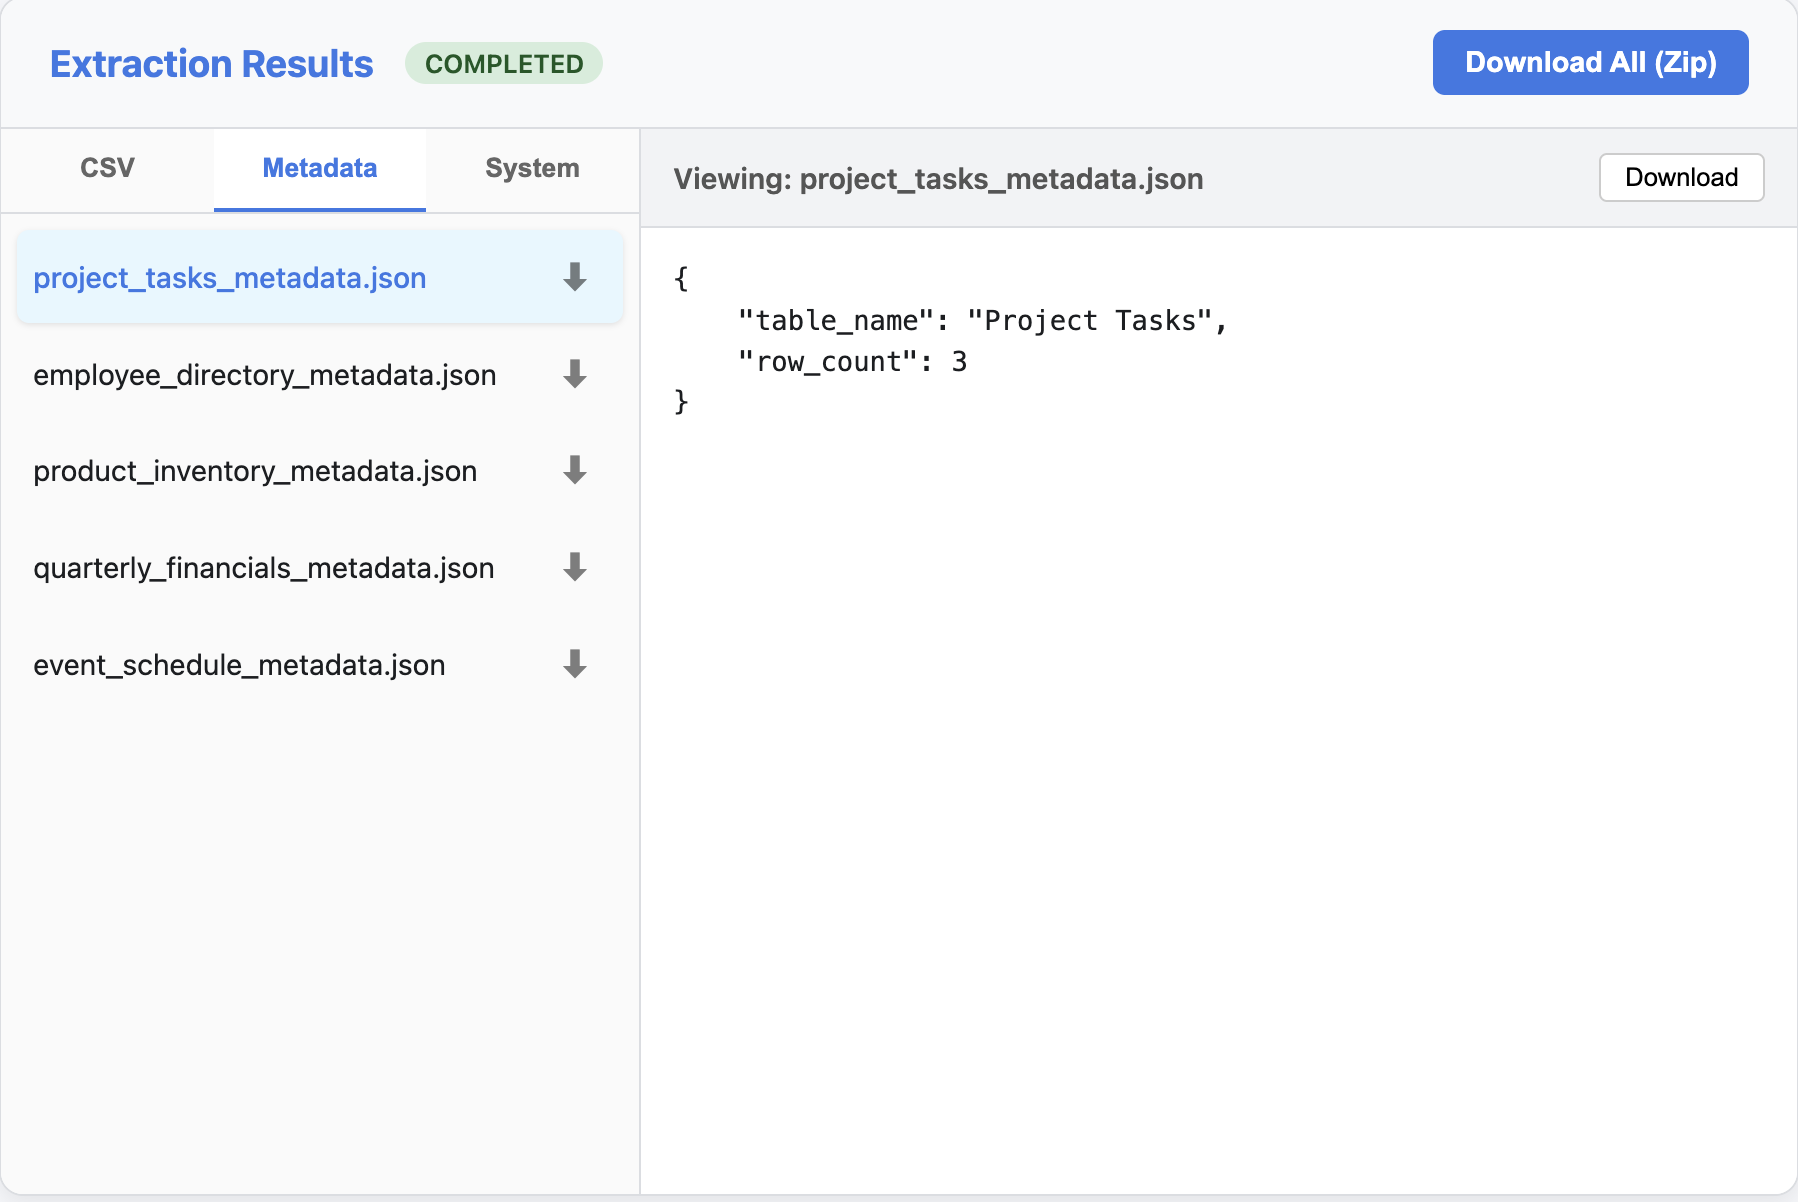
Viewing Results
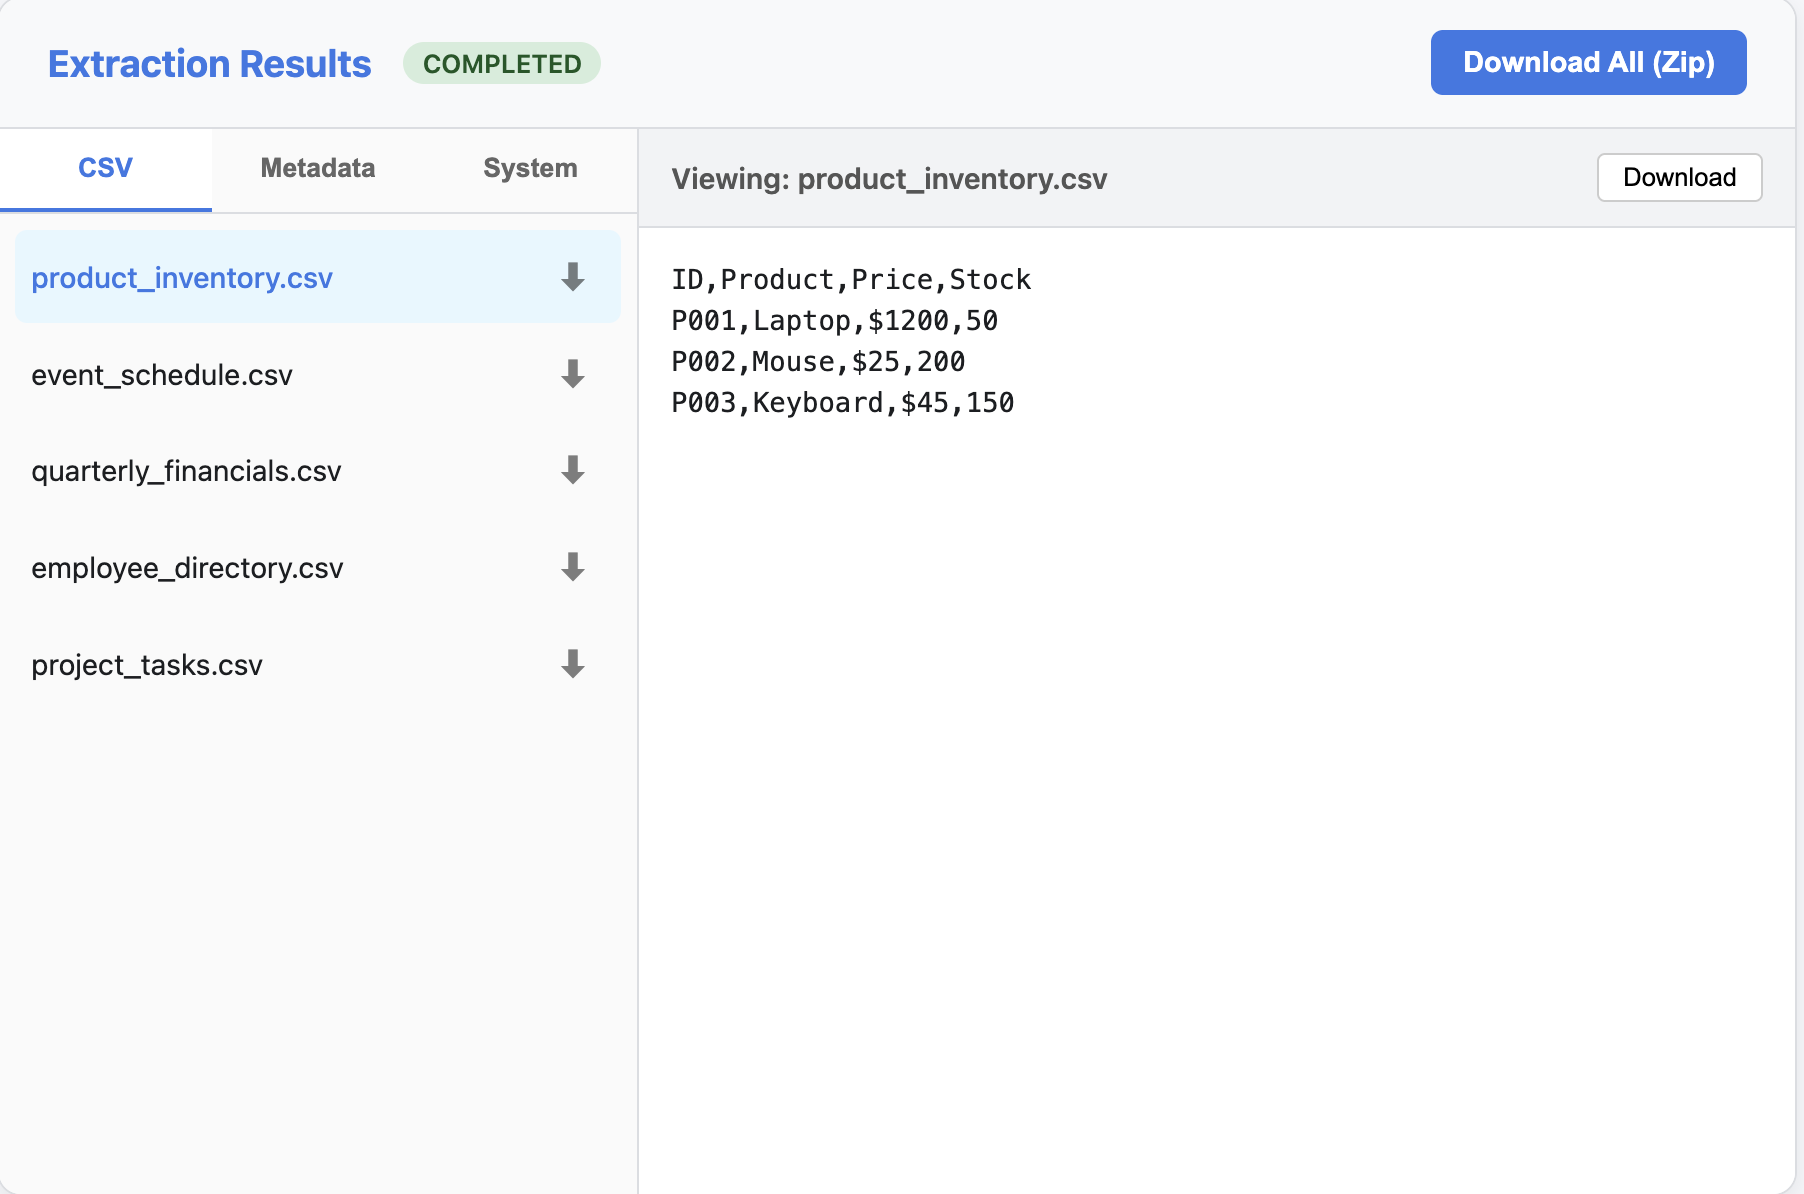
Once the extraction is complete, you can explore the results in three views:
1. CSV Data
View and download the extracted tables as CSV files.
2. Metadata
Inspect the extracted metadata for each table (JSON format).
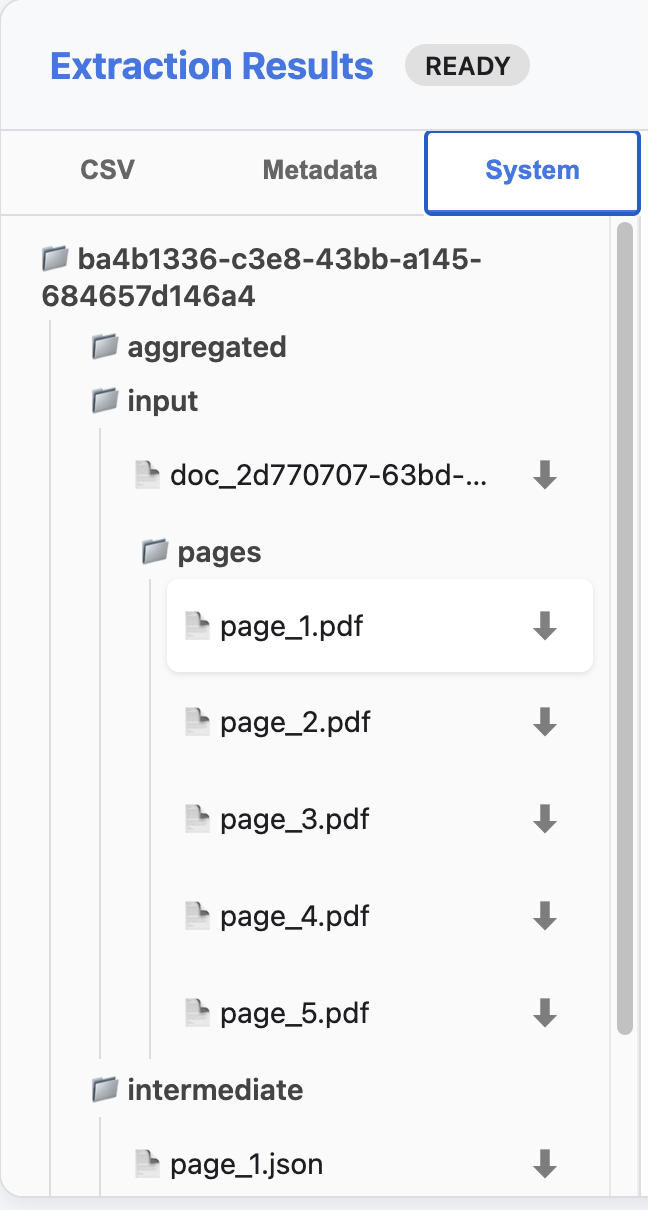
3. System Artifacts
Browse the complete file structure of the extraction pipeline, including intermediate files and raw inputs.